


Saving seeds from your garden is a great way to save money and ensure your next generation of plants will thrive in your particular ecosystem. Saving strawberry seeds is no exception. In fact, if you have open-pollinated strawberries, plants grown from saved seeds may be even better equipped to handle your climate. How do you save strawberry seeds?
Jump to:
Which type of strawberry seeds can you save?
All heirloom strawberry varietals produce seeds that grow true to form. Choose some of your best berries from which to harvest seeds so the plants will be more likely to produce similar fruits.
Hybrids, such as Seascape, may or may not produce fruit that matches the parent plant. Grocery store strawberries are nearly always hybrids so their seeds may or may not sprout at all, but what’s the harm in trying?
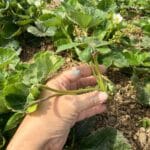
Hybrid strawberry cultivars can be propagated clonally by rooting runners. Often, these clones will begin producing fruit in the first year of growth whereas plants started from seeds will take 2 years to mature.
Seed Harvesting Methods
There are several effective methods of strawberry seed saving. Which method will work best for you?
1. Blender
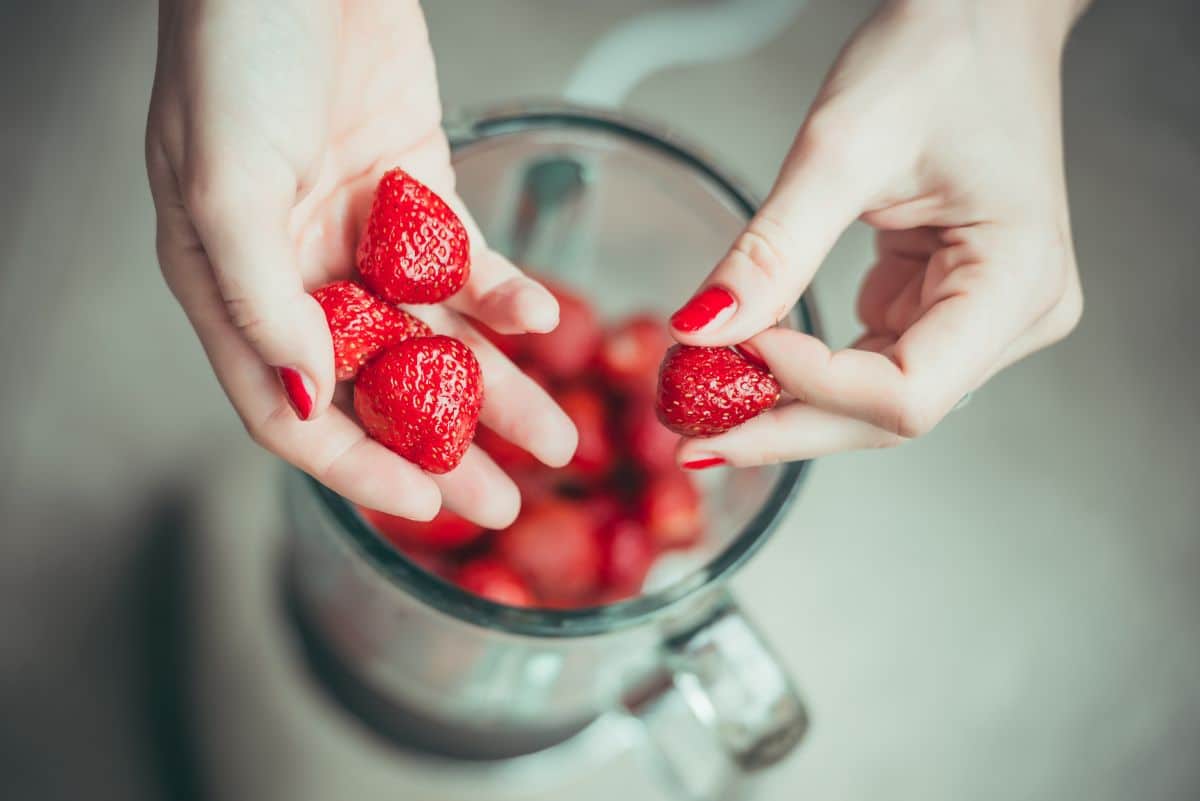
Place 4-5 strawberries in your blender with about a quart of water. (Just approximate the amount. It isn’t critical.) Run the blender on its lowest setting for about 10 seconds. Running your blender longer than 10 seconds could damage viable seeds so only blend your strawberries as briefly as possible.
Wait a few minutes after blending for the pulp and seeds to separate. The viable seeds will sink to the bottom and the unviable seeds will float with the pulp.
Pour off the pulp and unusable seeds. You may choose to pour them through a sieve and use the pulp for a tasty treat like strawberry fruit rollups. Then pour the viable seeds onto a paper towel to dry completely before placing them in a paper envelope in the fridge for storage.
2. Sieve
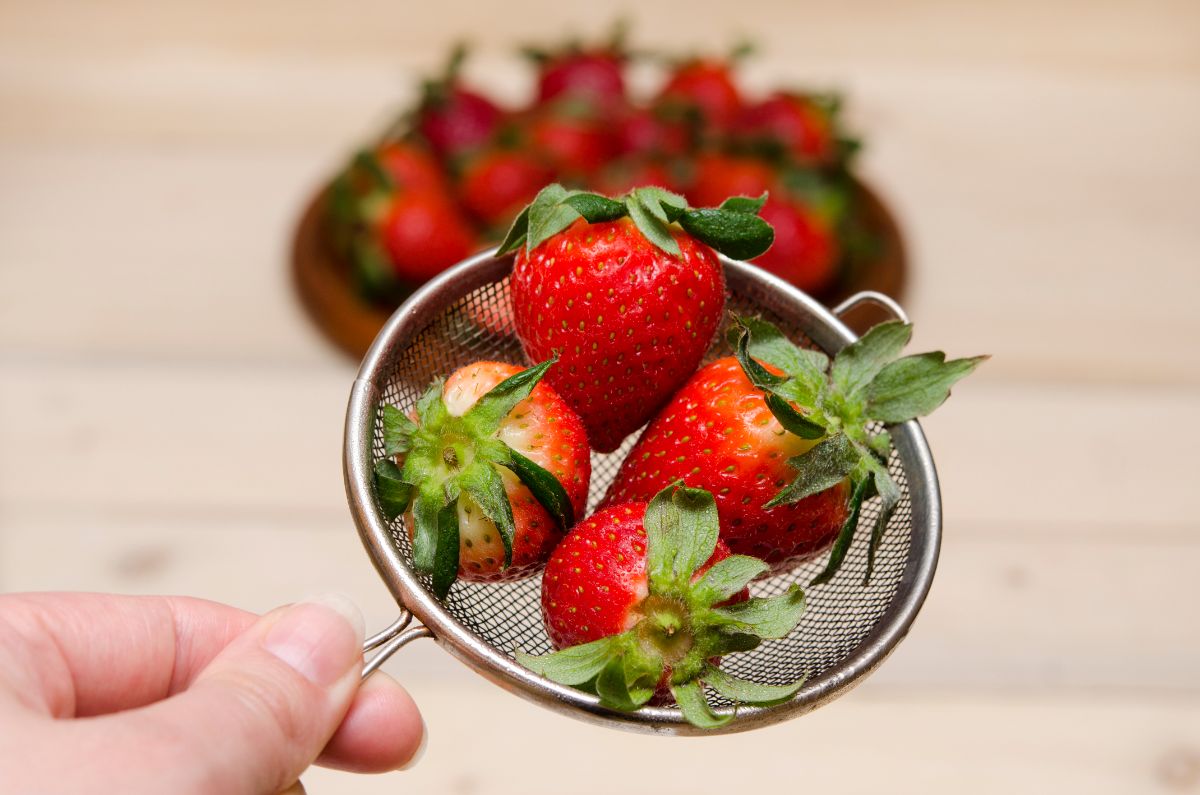
The sieve method works best for slightly overripe or naturally soft-fleshed strawberries. Cut your ripe berries into smaller pieces to speed up this process. Place them in a sieve and press the flesh through, leaving the seeds behind.
Rinse the seeds gently and spread them on a paper towel to dry completely before placing them in a paper envelope in the fridge for storage.
3. Dried Skins
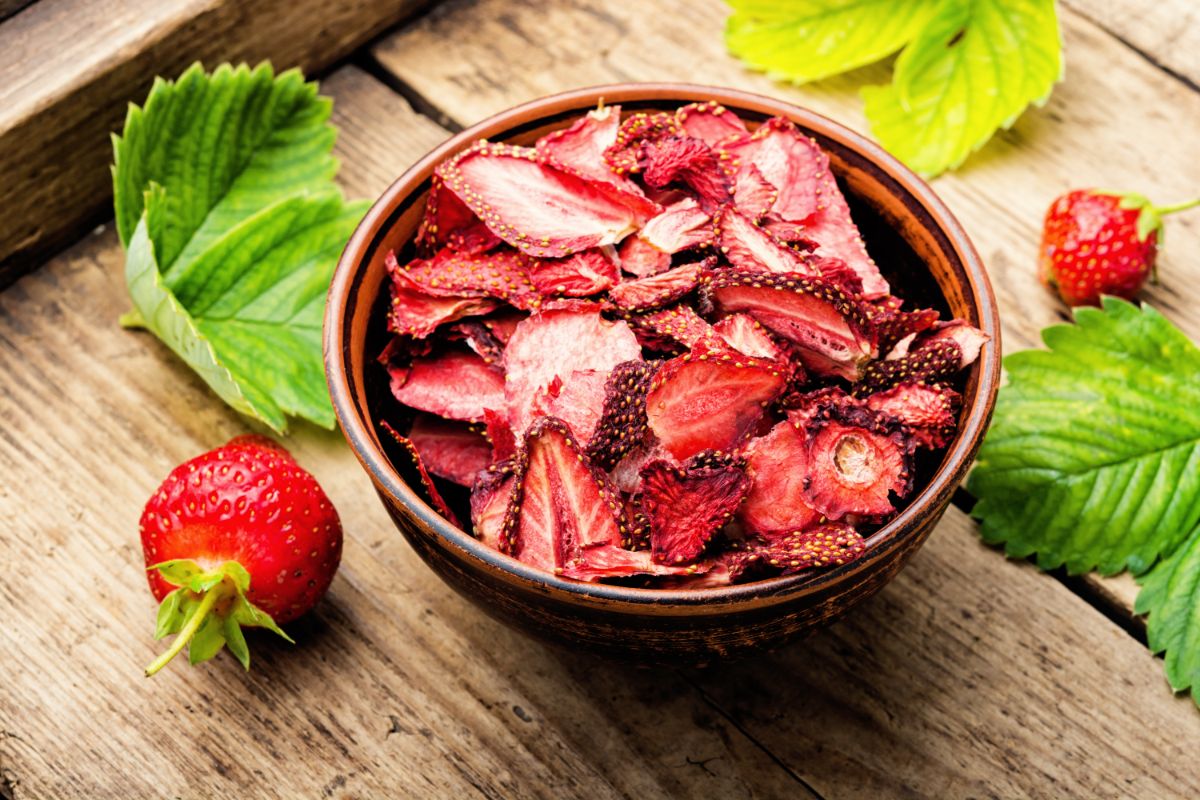
Saving the seeds from dried strawberries takes a little longer but is just as easy as the other methods. You can choose to peel your strawberries and dry only the skins or dry the whole strawberries and remove the seeds before using them.
You should sun-dry your strawberries or use a low-heat dehydrator if you want to grow the seeds. When the skins or berries are dry, hold one at a time over a dish and gently but firmly rub them with your thumb to loosen the seeds. When you have as many seeds as you want, pour them into a paper envelope and store them in the fridge.
4. Tweezers
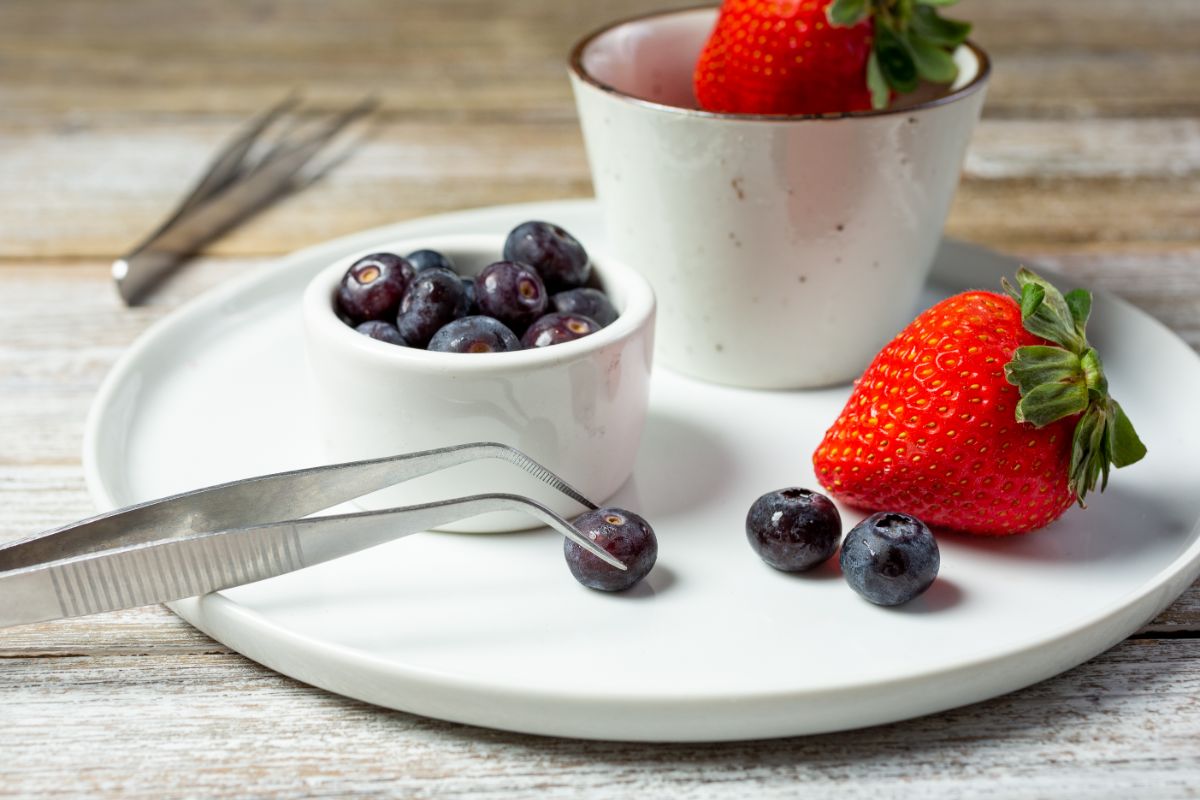
Using tweezers is the slowest and most involved method of saving strawberry seeds but a good option if you have limited growing space and need to save only a few seeds. Use a pair of tweezers to remove each individual seed from your ripe strawberries. Place them on a paper towel to dry completely before storing them in a paper envelope in the fridge.
How to Grow Strawberries From Saved Seeds
Of course, if you’ve saved seeds, you want to know how to grow strawberry plants from them successfully! Most strawberry seeds require cold stratification. It’s best to sow your seeds in fall and wait for them to emerge in spring or store them in the freezer for a month before germination.
For artificial cold stratification, remove the paper envelope full of strawberry seeds from its safe storage space in your fridge and place it in a jar or plastic bag. Move the sealed jar to a safe space in the freezer. After a month, remove the jar or bag and leave it on the counter to return to room temperature overnight. Leave the seeds sealed in their jar to prevent condensation from forming on them as they warm up.
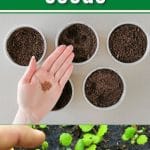
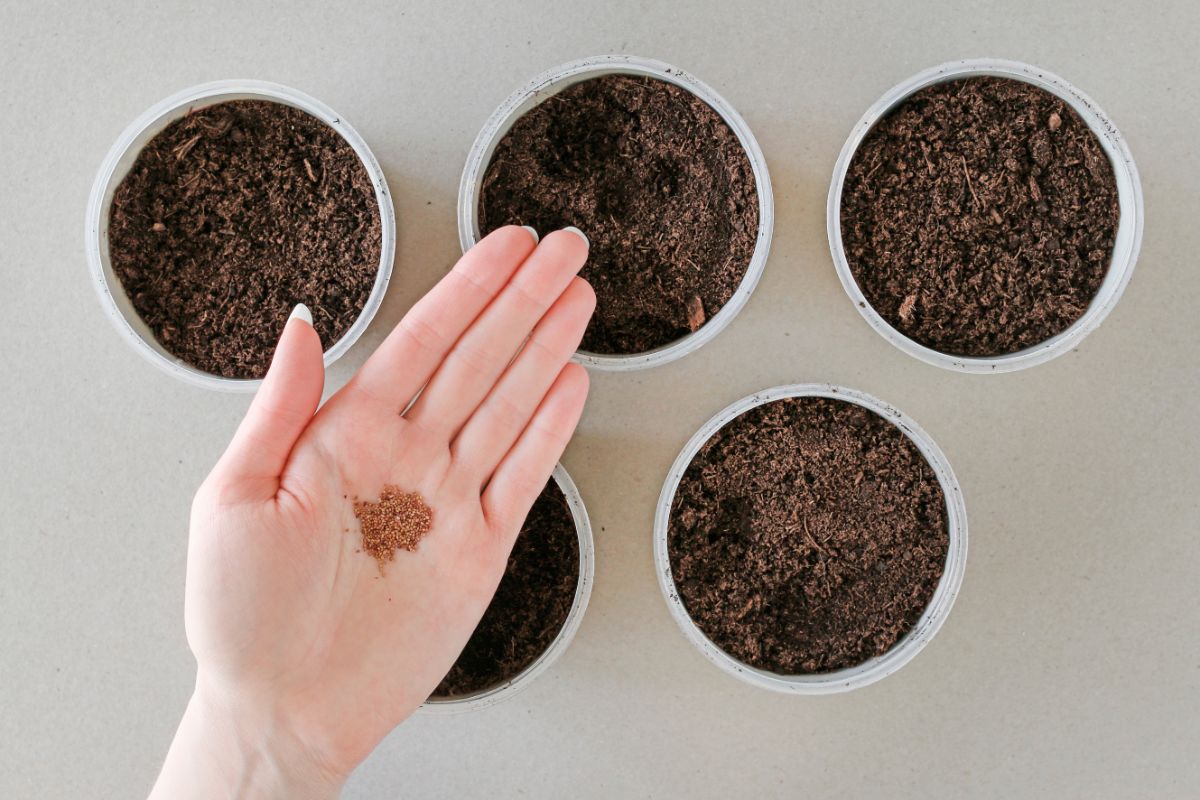
Prepare a seed-starting tray. Spread your favorite seed-starting mixture about ½ an inch deep in the tray and moisten the mixture until it is uniformly damp but not sopping. (If you don’t have a favorite, a good mixture for strawberry seeds is 3 parts peat moss to 1 part richly organic soil.)
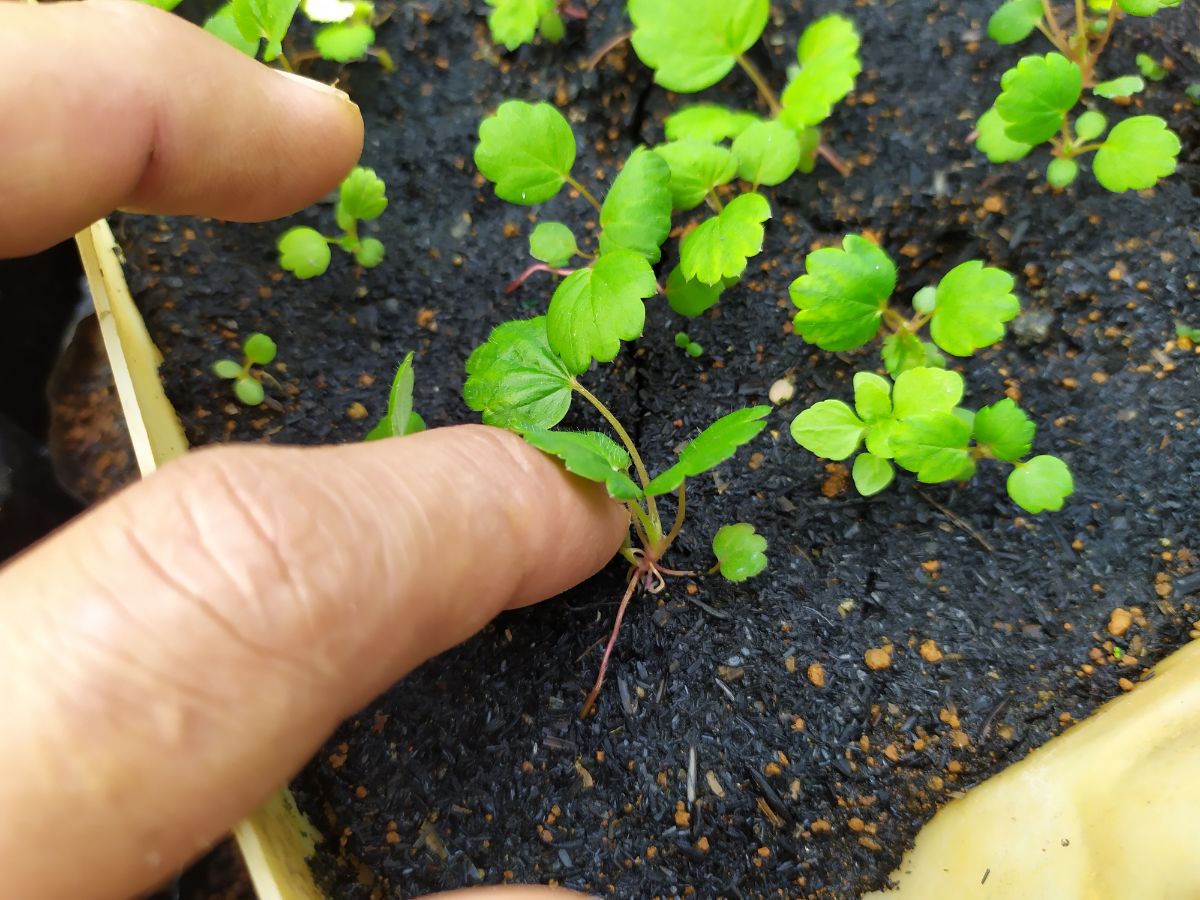
When the seeds have returned to room temperature, sow them thinly in the moistened potting mix. Barely cover the seeds with more potting mix and place them where they’ll receive plenty of light. Strawberry seeds need light to germinate so if you don’t have a window or greenhouse shelf where they can receive direct sunlight, it may be best to provide a grow light.
Now be patient and make sure to keep the seed-starting medium moist. Your strawberry seeds can anywhere from 1 to 6 weeks to germinate, though 2-3 weeks is typical. When they grow to about 1-2 inches tall, thin any seedlings growing too close together. After they grow their 3rd leaf transfer them to larger containers.
Once temperatures rise into the 50’s begin hardening off your strawberry seedlings by placing them outside in the shade for several hours a day and eventually leaving them outside overnight. Over the next few days, expose them to increasing amounts of sunlight until they are ready to be transplanted to your strawberry patch.
Congratulations! You’ve successfully saved your delicious strawberry seeds and grown new plants from them. Your new strawberry plants will begin to produce fruit and runners in their second year of growth. Take good care of your young strawberry plants and repeat this process with your next harvest to enjoy bountiful fresh strawberries for years to come.

Chuck McAllister says
Thanks for the voluminous information on all aspects of strawberry cultivation.
Faustina Twum says
Which type of soil is best for strawberries
Mary Ward says
Strawberries like deep sandy loam. It should be slightly acidic and should drain well. You can amend soil with compost and/or sand to improve it for strawberries.
Peter kai says
Thanks for the instructions
Mr. Strawberry says
You’re most welcome Peter! Good luck