The time has come to buy and plant your strawberries! Do you have a space for your strawberries already? Why not tuck them into their very own raised bed?
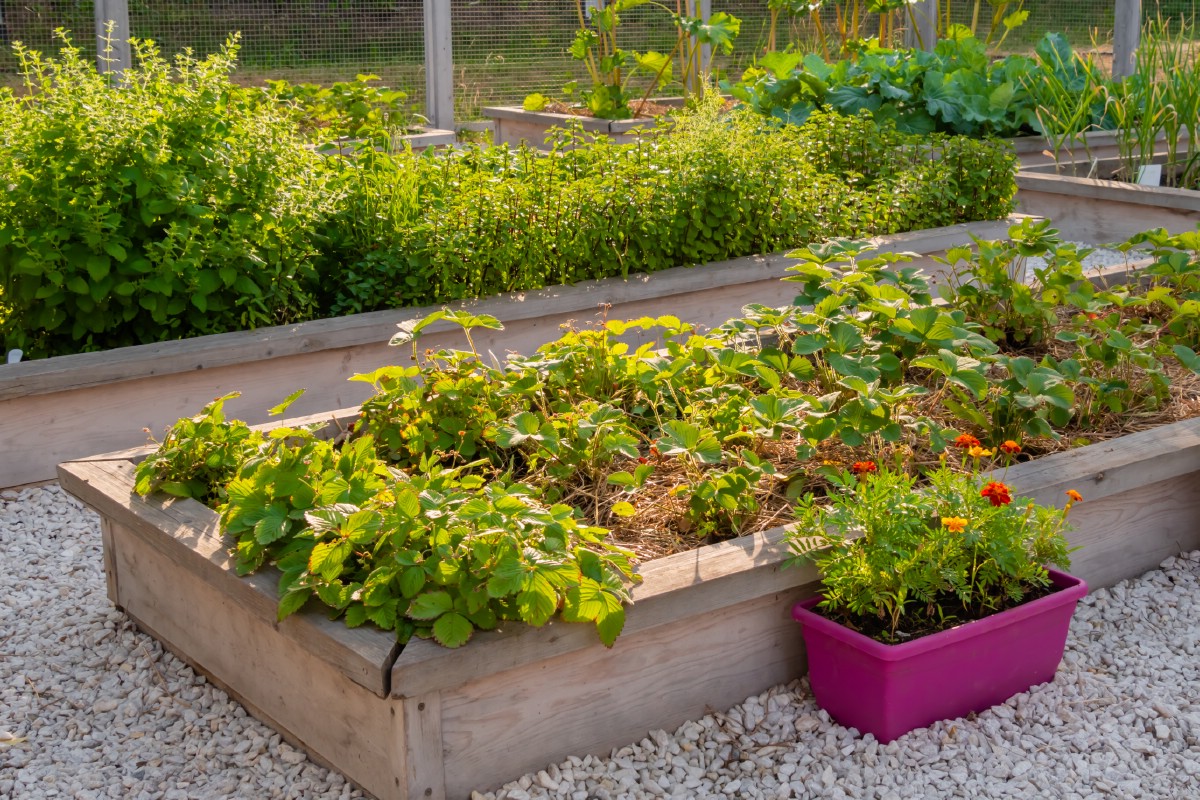
Strawberry gardeners have long preferred growing their plants in a raised bed to growing them in a pot or directly in the ground. Why? What are the advantages of a raised bed for strawberries? How can you build a strawberry box for yourself?
Jump to:
Why grow strawberries in a raised bed?
One of the biggest reasons for growing your strawberries in a raised bed is how easy it is to control the soil conditions. Strawberry plants grow best in light, well-draining, slightly acidic soil with a lot of organic matter. Raised beds are famous for having good drainage and fluffy soil.
Because you never walk through your raised bed, the soil doesn’t become compacted. Soil that isn’t compacted has plenty of air pockets to allow water to drain efficiently, roots to spread easily, and beneficial insects and worms to move about freely.
Raised beds typically have less trouble with weeds because there are no existing root systems to push to the surface and crowd out your strawberry plants. You can further limit the presence of weeds by choosing to fill your raised strawberry bed with clean soil that has no weed seeds hiding in it.
Using a raised bed can help you to better contain your strawberry plants. The extra few inches in height prevent most runners from rooting outside of the box and eventually spreading to other parts of the garden.
Keeping your strawberry plants contained allows you to keep an eye out for diseases, pests, and fungi. When you catch potential problems early, you can take steps to prevent their spread and reduce losses from your harvest.
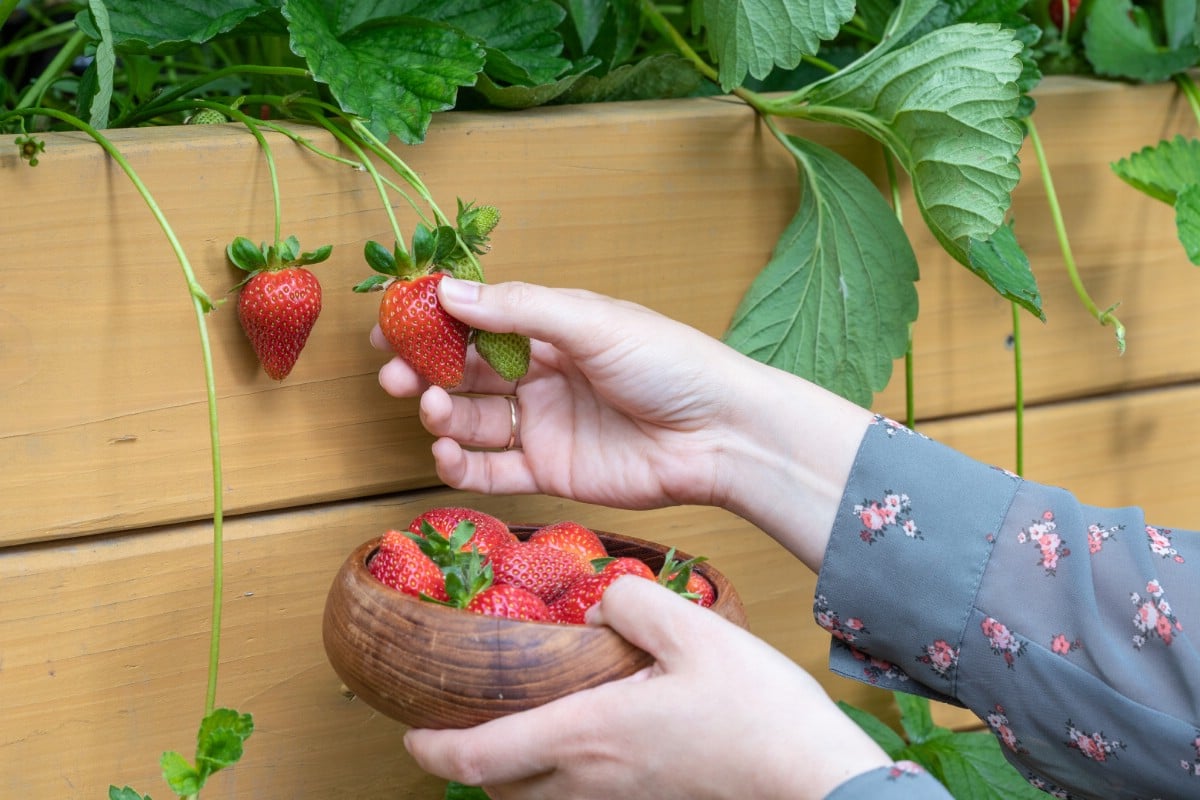
A final reason to choose a raised bed is that it makes it easier to harvest your delicious ripe strawberries. The fruit is easier to reach and easier to find in a raised bed with no weeds.
Psst! Do you lack the time or skills to build your own raised bed? Do you want a more complicated design? Try buying one of these premade raised strawberry beds.
[amazon box=”B06XPHQD9C,B00IXO7YUY,B07V8SGLMT,B07XR1PPCK” grid=”2″]
How to build a raised strawberry bed
Your raised strawberry bed only needs to be 6-8 inches deep because strawberry plant roots only grow about 6 inches deep or up to a foot in thin sandy soil. Let’s build a simple raised bed together using 4 1×6 or 1×8 boards.
How big should I make my raised strawberry bed?
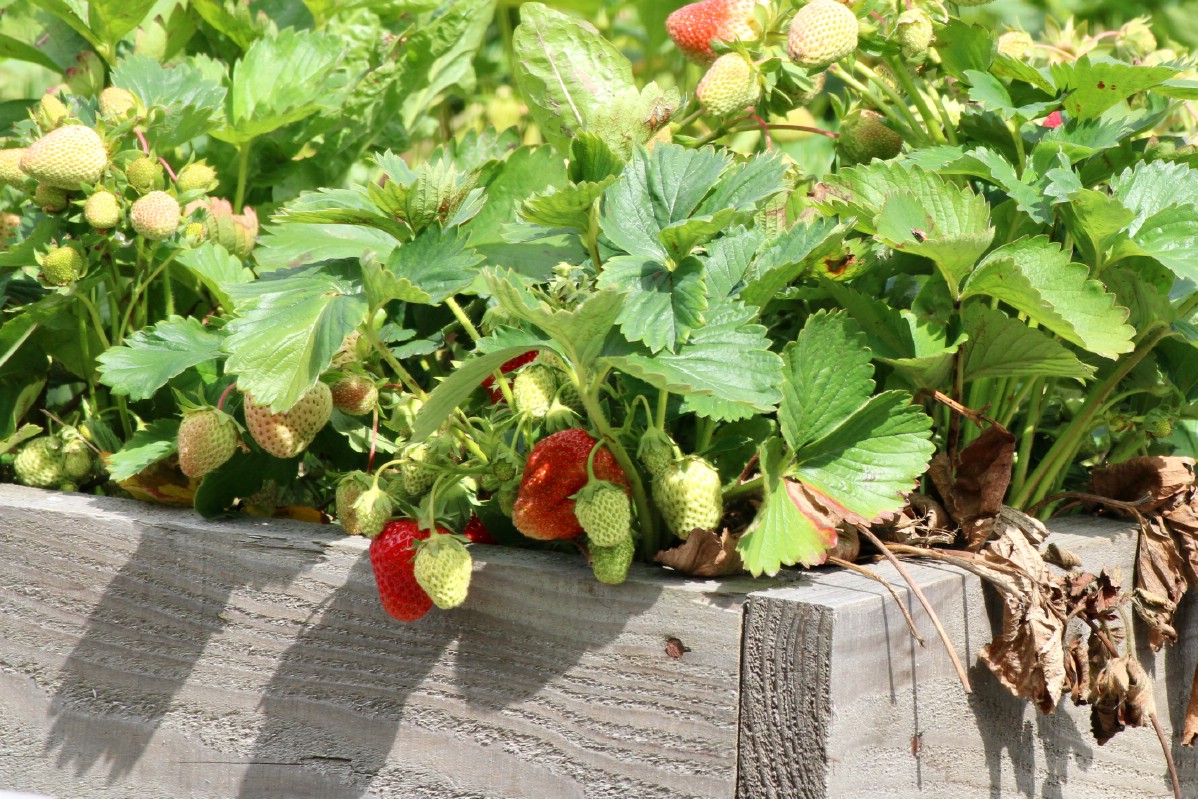
A raised bed is not meant for foot traffic which keeps the soil fluffy. You need to be able to reach all parts of the growing space from outside of the walls. Most gardeners can comfortably reach 2 feet into a raised bed so it’s common to see garden boxes that are 2-4 feet wide.
Adjust the length according to the space you have available. When deciding where to put your raised bed, keep in mind that strawberry plants love sunshine.
Materials needed:
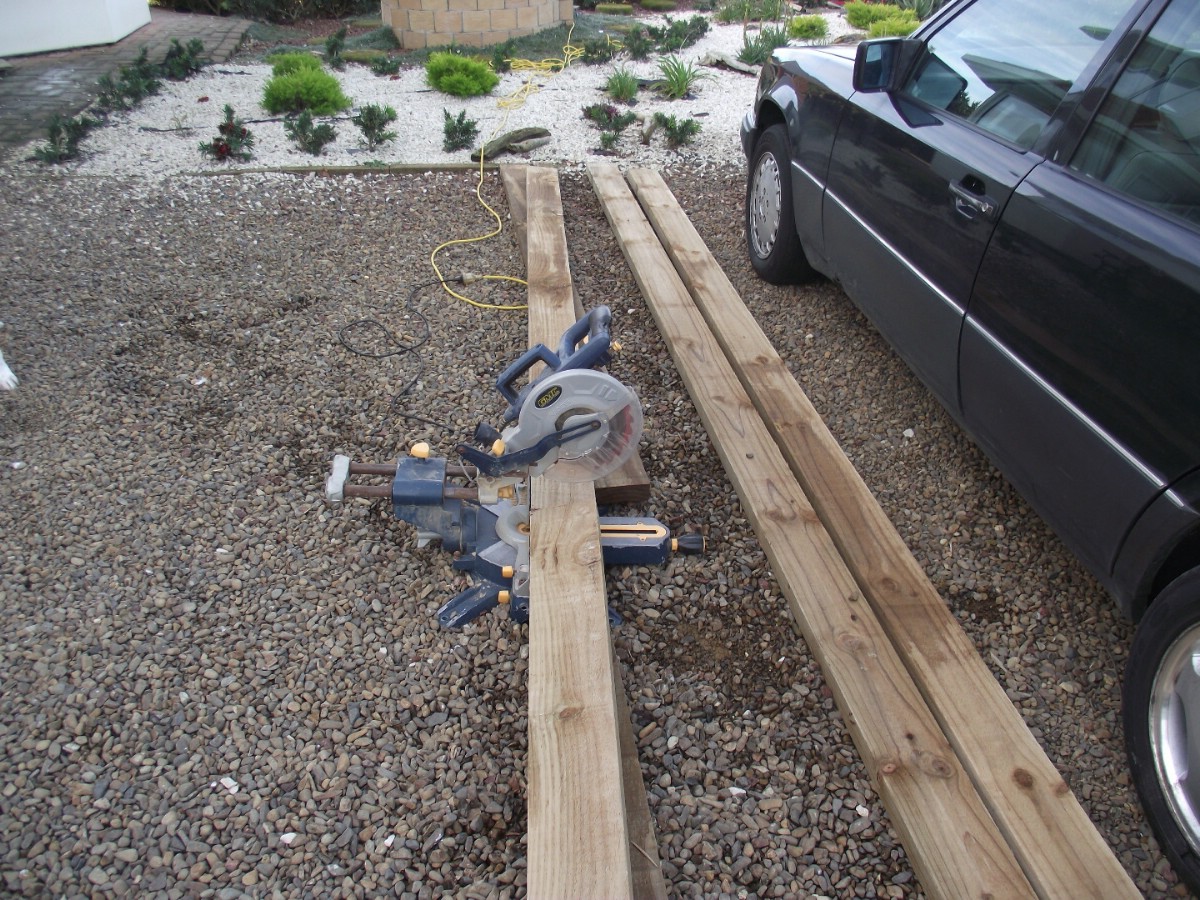
- 1×6 or 1×8 boards (cut to the desired length)
- Cedar or pressure-treated wood is best but you can use any sturdy boards.
Optional materials to build a bed with a flat ledge:
- 2-4 feet of 2×2 lumber depending on the size of the box (reinforcement)
- 1×3 boards to cover the perimeter (flat ledge)
Tools needed:
- Measuring tape
- Pencil
- Circular saw or table saw
Optional tools:
- Hammer or Mallet
- Chisel
- Screwdriver and screws
- Drill
- Speed square
Steps:
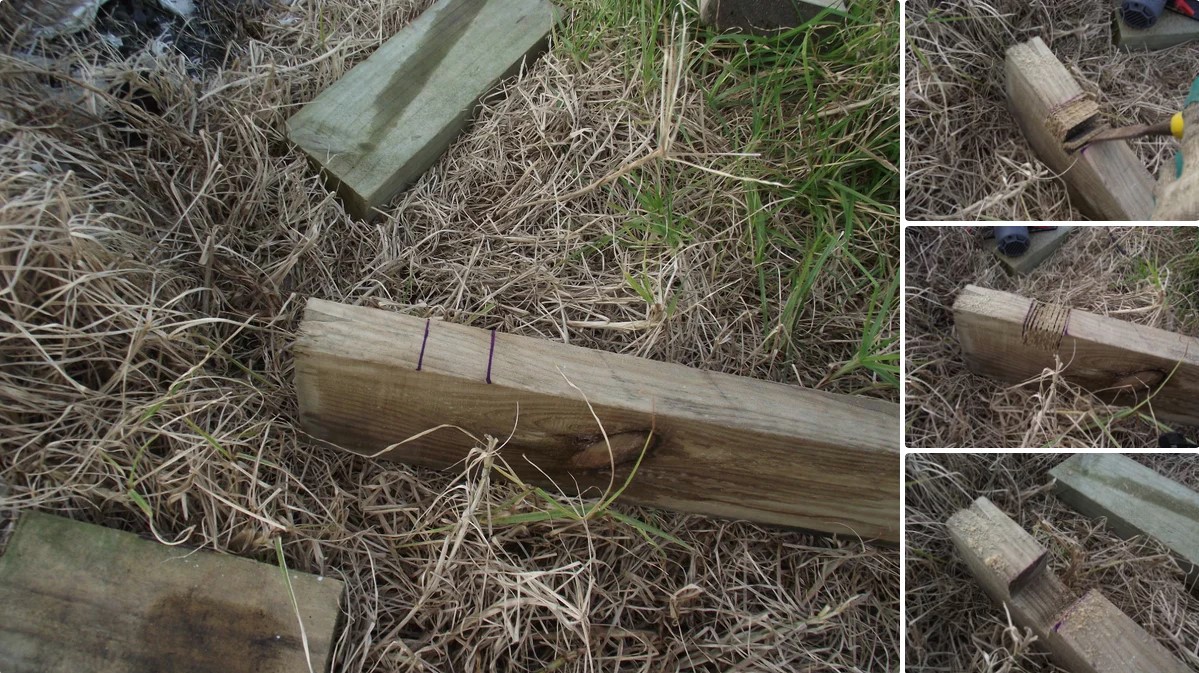
- Use a table saw or circular saw to cut the length of your boards to the desired dimensions of your raised strawberry bed. Remember that 2 of your sides should be 2-4 feet long and the length of the other sides will be determined by your space and personal preferences.
- Use a table saw or circular saw to cut notches in the ends (3 inches deep for 1×6 or 4 inches deep for 1×8).
- Set the depth of the cut on your saw to make this easier. Here are instructions to set the depth on a circular saw.
- Measure and mark 1 inch and 1 ¾ inch from each end of all the cut boards.
- Cut on your marks and knock out the ¾ inch tongue with a chisel or continue to make cuts between your marks until the wood between them is gone.
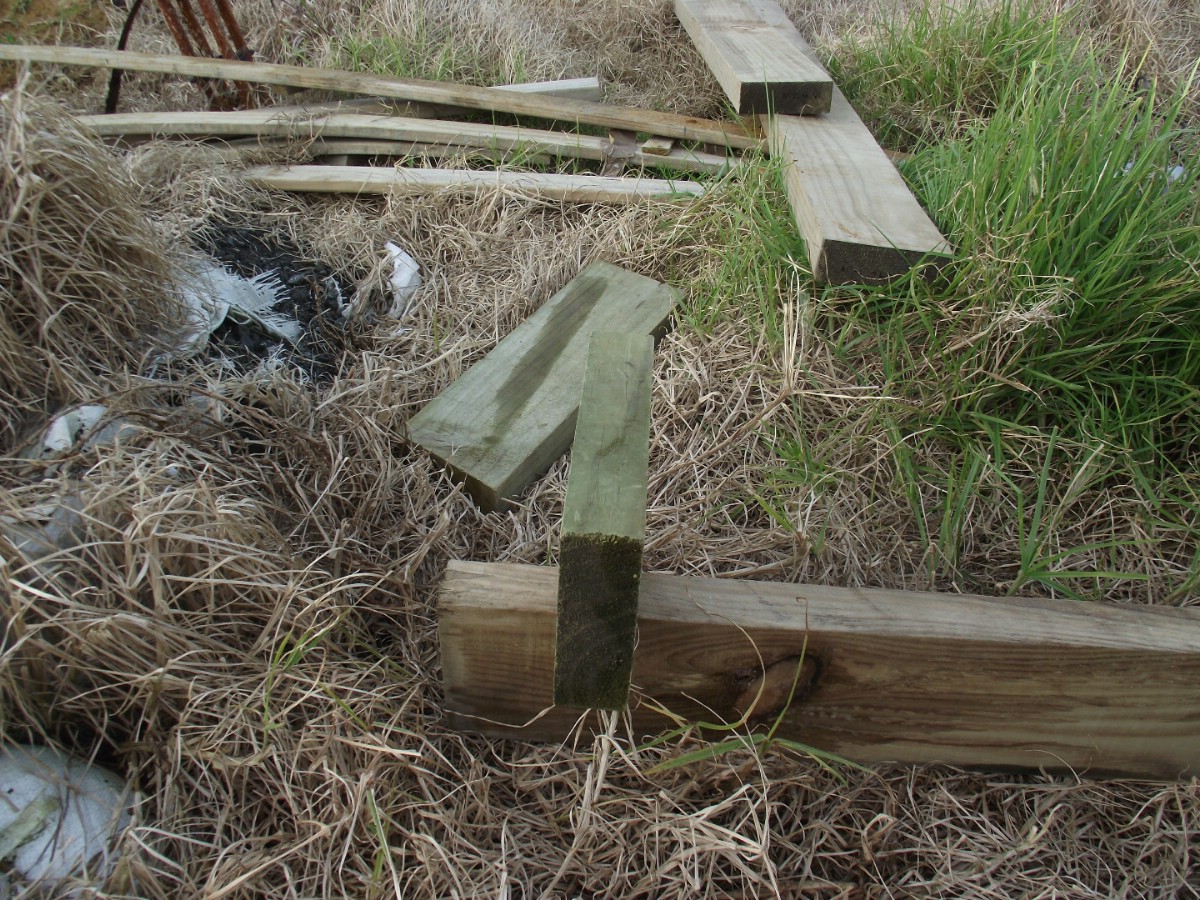
- Interlock your notched boards Linkin Log style by setting one in place notch side up and placing the notch of another into the upright slot. The notches should be snug so use a hammer or mallet if necessary.
- Repeat Step 3 for all 4 sides. You can stop here to enjoy the simplest raised strawberry bed! Skip down to how to fill your raised bed or make your box a little fancier by following the optional instructions below.
Optional Steps:
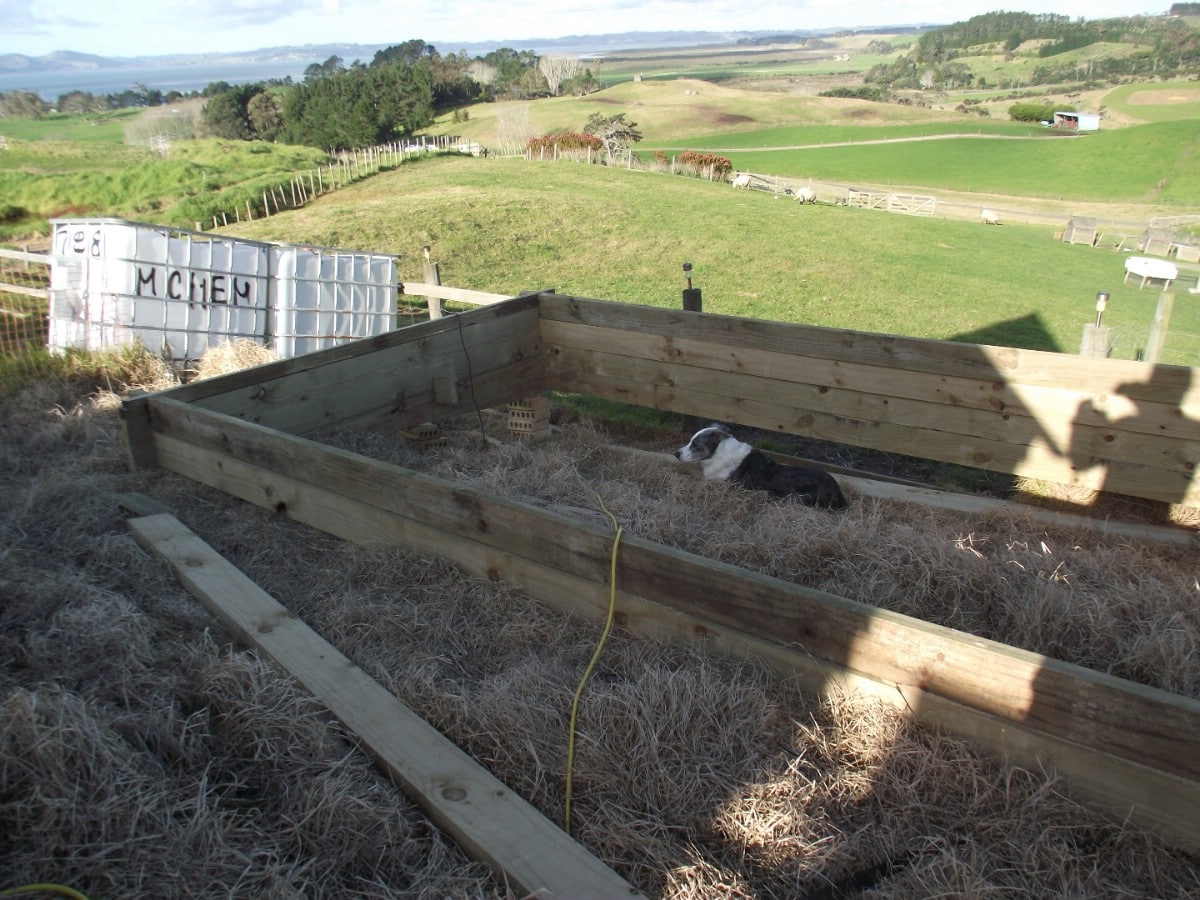
- Cut the 2×2 board into either 6-inch or 8-inch sections to match the depth of your raised bed. You will need 2 for each corner and one for the middle of each side that is longer than 4 feet.
- Attach 2 pieces of 2×2 to the outside of each corner. Insert the screws from inside of the bed. I recommend you drill a hole first to avoid splitting the wood.
- If any side is longer than 4 feet, attach a piece of 2×2 to the center of the outside of those walls by screwing them together from inside the box.
- Cut your 1×3 to length at 45-degree angles.
- To do this accurately, use your speed square to mark and cut a 45-degree angle off one end.
- Measure the inside length of one side of your raised bed. Mark this length on the 1×3 on the short side of the board.
- Flip over your speed square and mark the 45-degree angle pointing away from your mark.
- Check the angles to make sure they face opposite directions. Your board should look like a very long trapezoid with the short measurement matching the inside measurement of the box. Cut the angle.
- Repeat these steps for the other sides.
- Attach the trapezoids to the top edge of your box by putting one screw through the end of each board into the top of the 2×2 pieces that you attached earlier. Again, I recommend drilling holes to avoid splitting the wood. If any side is longer than 4 feet, also attach the ledge to the top of the center reinforcement.
- Voila! Your fancy raised strawberry bed with a flat ledge for resting tools and baskets is complete! Now fill it up!
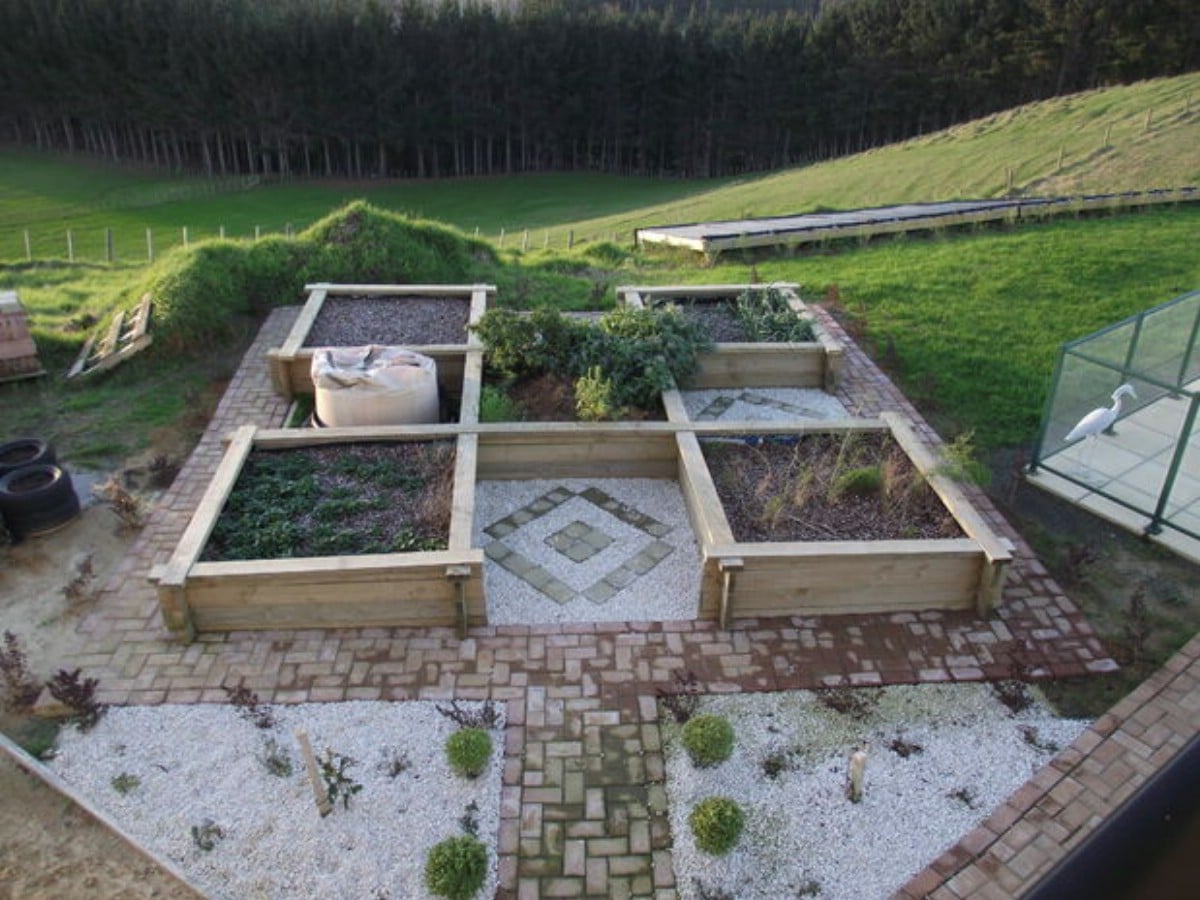
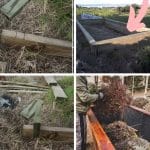
Phots of the assembling credited here from Instructables user Buck2217.
How to fill your raised strawberry bed
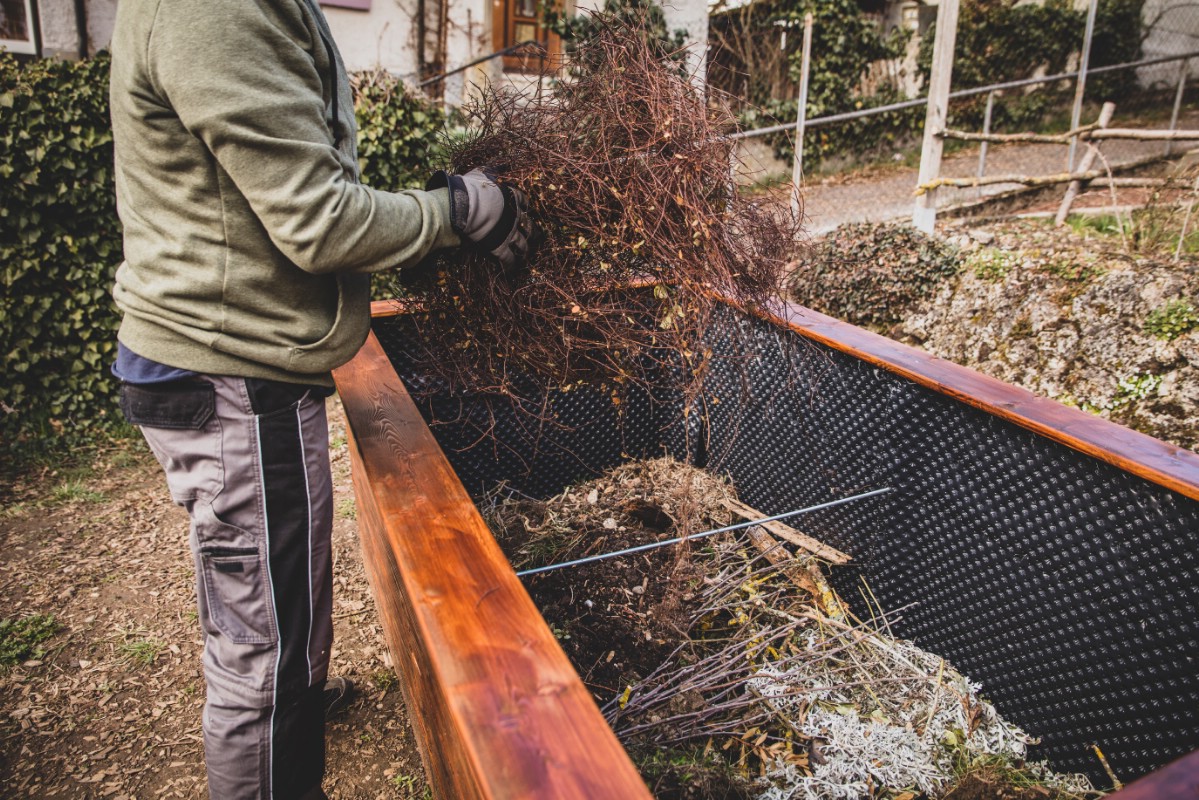
Lay down landscaping cloth, layers of newspaper, or cardboard first. This layer will prevent persistent weeds from pushing through and will hinder destructive animals from tunneling up into your strawberry bed.
If you choose to use a raised bed deeper than 12 inches, your next layer should be branches, straw, dried grasses, or flower stalks. These materials will add organic matter over time, generate heat as they decompose, and cut your startup expenses.
Next add potting soil, aged manure, compost, and a balanced NPK slow-release fertilizer. Mix them well.
Strawberries prefer slightly acidic soil, between 5.5 – 6.5 on the pH scale. Make sure your compost contains plenty of vegetable matter to increase the acidity of the soil to the best level for your strawberry plants.
Finally, add your strawberry plants and any companion plants you choose. Enjoy your raised strawberry bed and its produce for years to come.
Other Simple Raised Bed Tutorials Perfect for Strawberries.
With a few simple tools and a can-do attitude, you can build your own raised strawberry bed. For this simple 4×4 foot design, you’ll only need deck screws, a drill, a Phillips head bit, and a drill bit that matches your screws if you have the lumber cut to size at the store. Ask an associate to cut this list for you.
- One 16-foot 2×8 pressure treated board cut into four 4-foot lengths
- Optional for reinforced corners: 2×4 pressure-treated wood cut into 6-inch lengths
Instructions
- Lay out your 4-foot boards in a square.
- Hold 2 of the boards end-to-end at a 90-degree angle. Using your drill and the appropriate drill bit, pre-drill 3 holes through the side of one board into the end of the other. You’re fastening one corner of your box.
- Switch to your Phillips bit and insert 3 screws into the holes through both boards. This will make it easier to attach the other sides.
- Move to the other end of one board and repeat the process. Repeat this 2 more times for each corner.
- Your box is ready to fill, but if you’d like to reinforce the corners for peace of mind, predrill 2 holes through each board at the end into a 6-inch length of 2×4. Alternate the placement of the screws so they don’t run into each other.
- Insert the screws and repeat the process for the other 3 corners.
How to build a tiered raised bed
Tiered raised strawberry beds can look very different to fit in a variety of spaces. Here are 3 options to try building.
Tiered Raised Strawberry Bed 1
To build a tiered raised strawberry bed, simply build 2 of the boxes above with reinforced corners and stack one on top of the other at 90 degrees so the corners of the top box rest on the sides of the bottom box.
Tiered Raised Strawberry Bed 2
You can build another shaped tiered raised bed by following the instructions above for the bottom box and reinforcing 2 of the corners. For the top box, repeat the instructions using a 12-foot 2×8 pressure-treated board cut into two 4-foot lengths and two 2-foot lengths.
Use a 2×4 cut into four 14-inch lengths to reinforce the corners of the top box and secure it to the bottom box following the same method as step 5 above.
The front corners of the top box will align with the center of the sides of the bottom box. Secure the bottom of the 2×4 to the sides of the bottom box as well for extra stability over the seasons.
Tiered Raised Strawberry Bed 3
Use 4 tires to make a 2-tiered raised strawberry bed. Make 3 raised beds from tires with touching sides and place the 3rd tire on top. Fill the top tire with compost and soil just like the bottom 3. You can drill holes in the sides like a strawberry tire tower to maximize your growing space.

